 FREE 1 to 3-Day Delivery on Orders $119+ Details

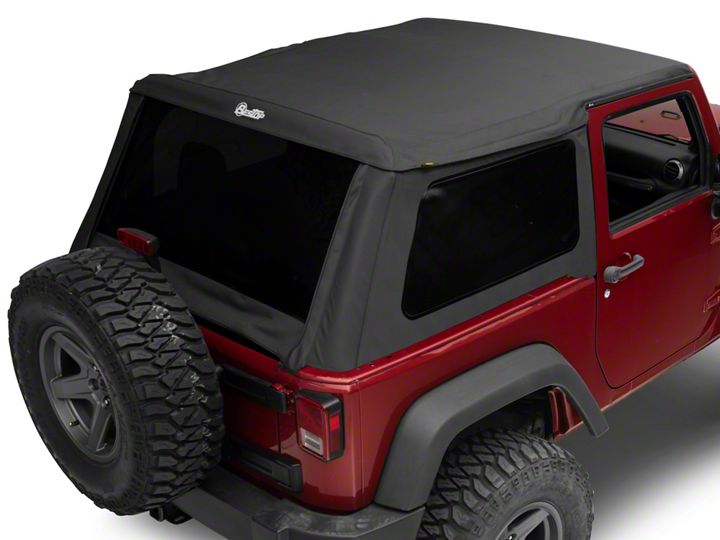
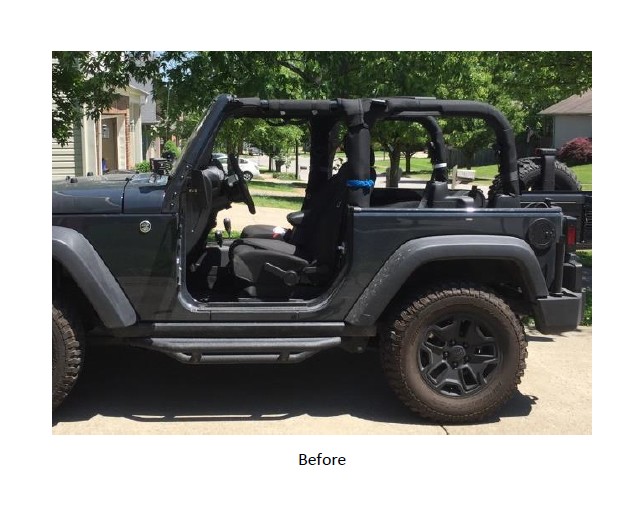
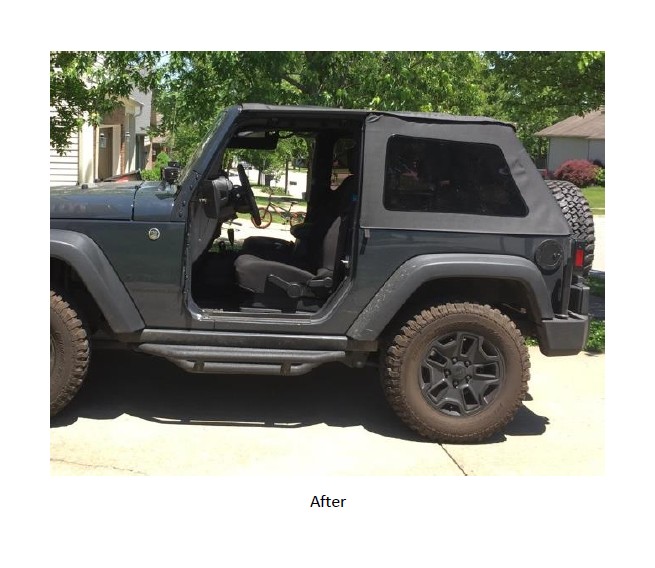
How to Install Bestop Trektop NX on your Wrangler
Shop Parts in this Guide
Ensure that all equipment and hardware are included before beginning installation. Also, ensure the outdoor temperature is above 72 degrees or your garage is heated to above 72 degrees to allow top to stretch for fit.
Installation Instructions:
1. Use a box cutter to carefully open the cardboard box and remove the equipment and hardware.
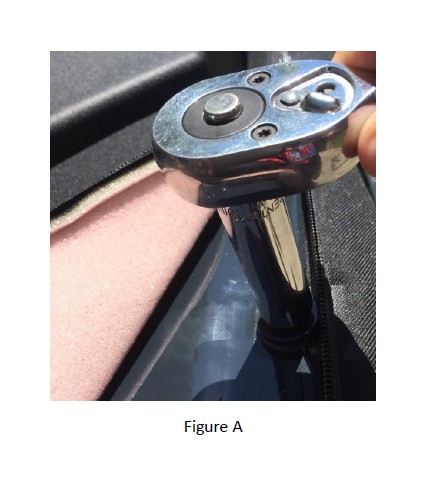
2. Unzip the rear sport bar cover and remove the upper sport bar bolt using the 13mm socket wrench (Figure A).
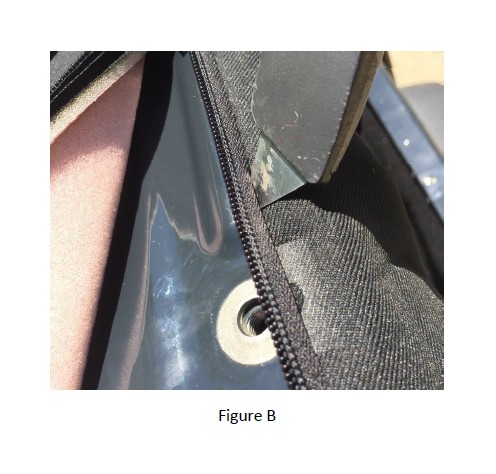
3. Using the box cutter, cut a 2" slit in the sport bar cover along the location of the upper sport bar bolt (Figure B).
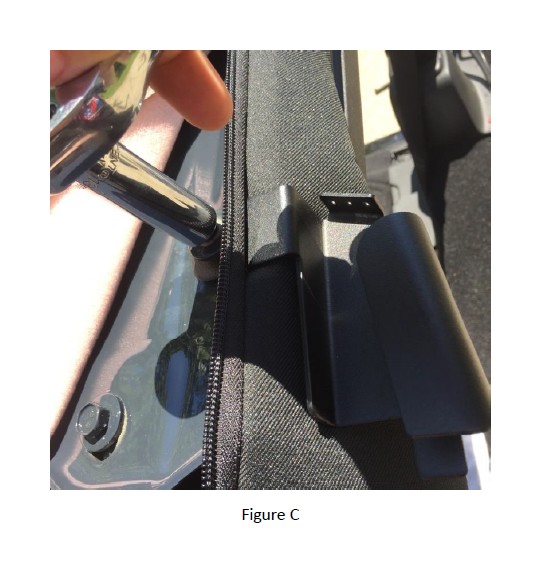
4. Slide cable bracket mount through the slit and reattach the upper sport bar bolt using the 13mm socket wrench (Figure C).
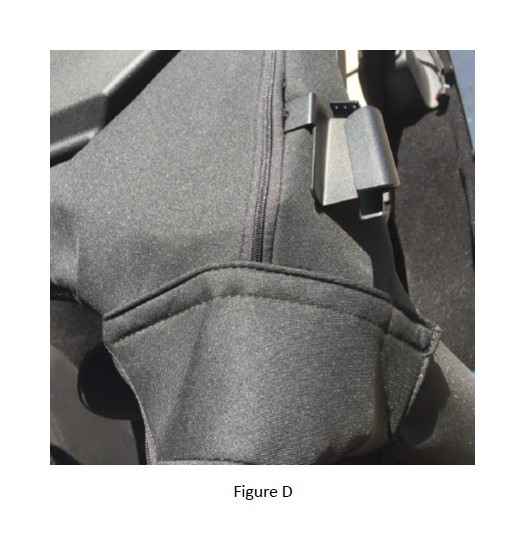
5. Replace the sport bar cover (Figure D).
6. Repeat steps 2-5 on the other side.
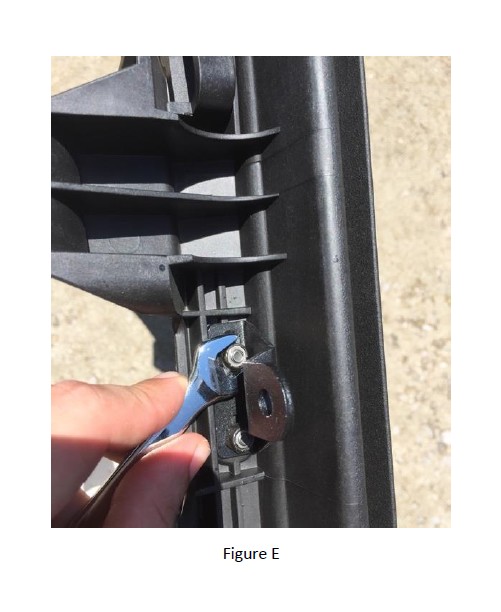
7. Using a Philips head screwdriver and 3/8" wrench, mount the right pivot bracket to the right door surround using two #10-32 x ½" screws and #10-32 lock nuts (Figure E). Then repeat with the left pivot bracket and left door surround.
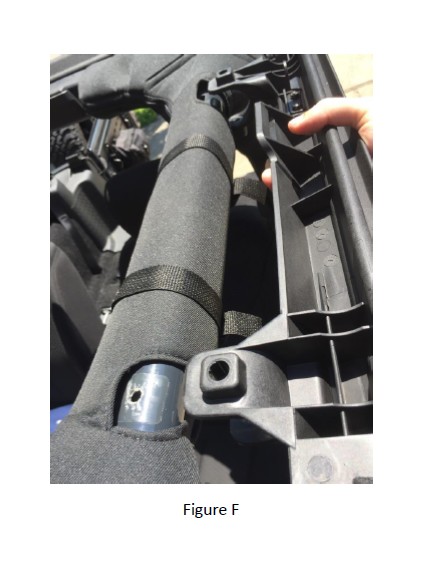
8. Insert the pin located at the bottom of the door surround at the belt rail behind the door and press the upper door channels of the door surround onto the horizontal sport bar above the door opening (Figure F). Then secure the door surround using two M8 x 75mm knobs hand-tightened. Repeat on the other side.
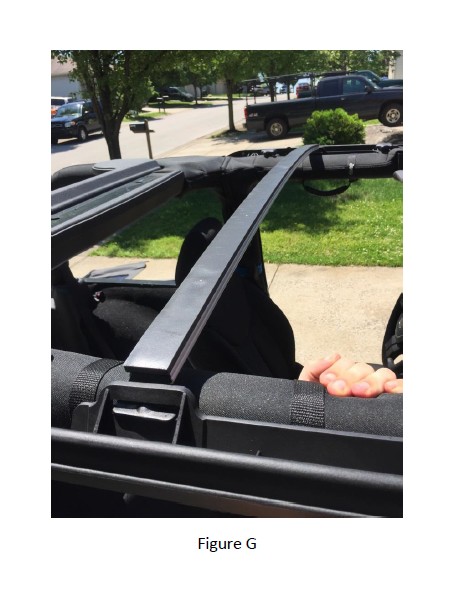
9. Remove the disposable adhesive liner from the rear top arch. Insert one end of the rear top arch into the slot in the middle of the door surround on each side (Figure G). Note: In order to secure the rear top arch into place, apply slight pressure upward so the arch "bows" until you can secure both notches into their slots.
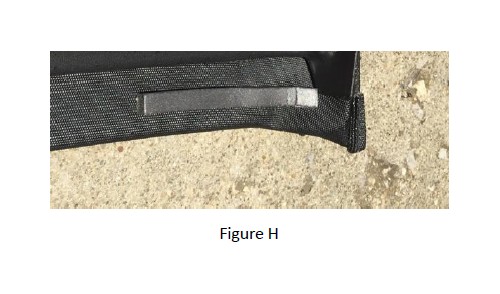
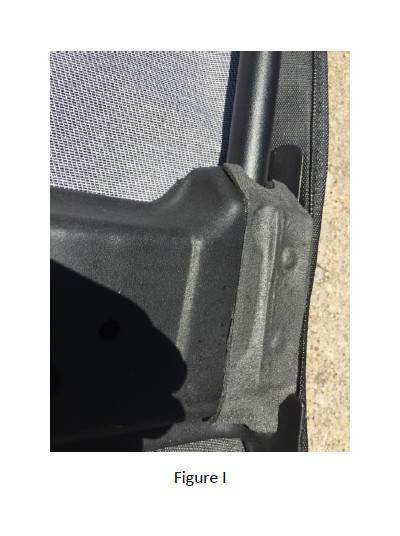
10. Peel the backing off the foam tape strips and install them onto each side of the header assembly (Figure H). Peel the backing off the foam seal and install the seal (left on the driver side, right on the passenger side) (Figure I).
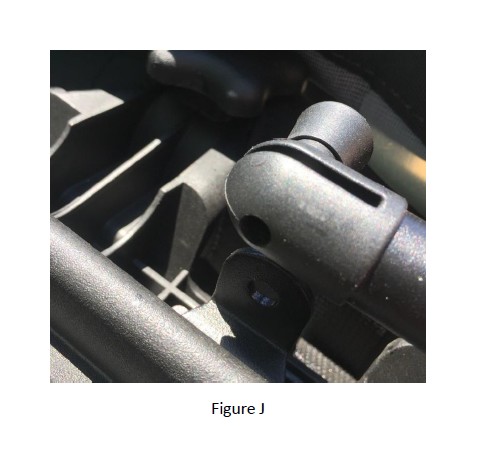
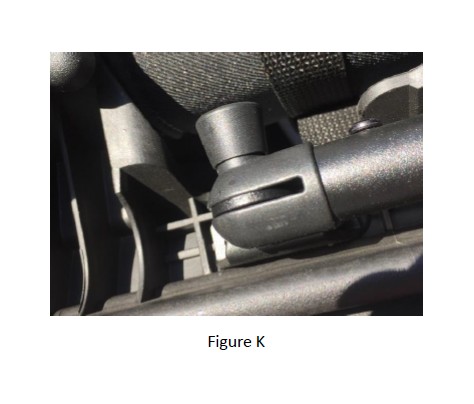
11. Place the top fabric over the top of the vehicle. Pull back the quick release knob on the side bow (Figure J) and secure the side bow to the pivot bracket on each side of the vehicle (Figure K).
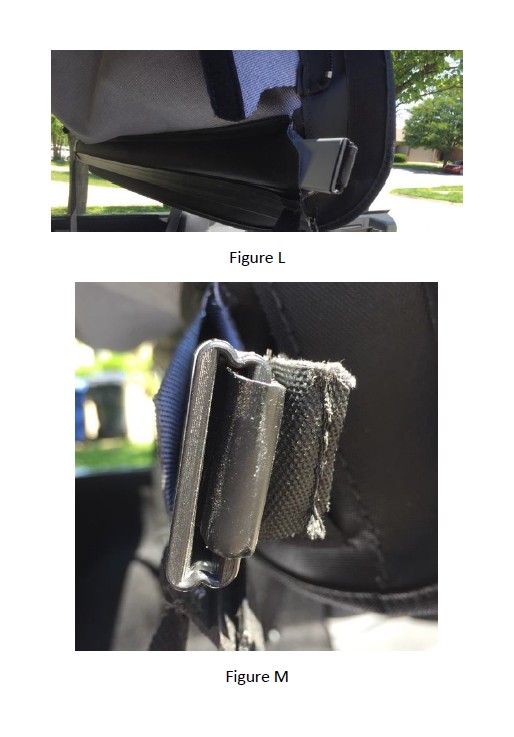
12. Slide the rear bow into the pocket inside the rear of the top fabric (Figure L). Secure the J-hooks on the rear bow flaps at each end of the rear bow (Figure M).
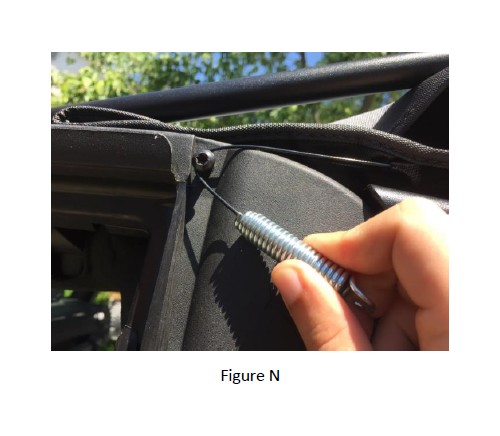
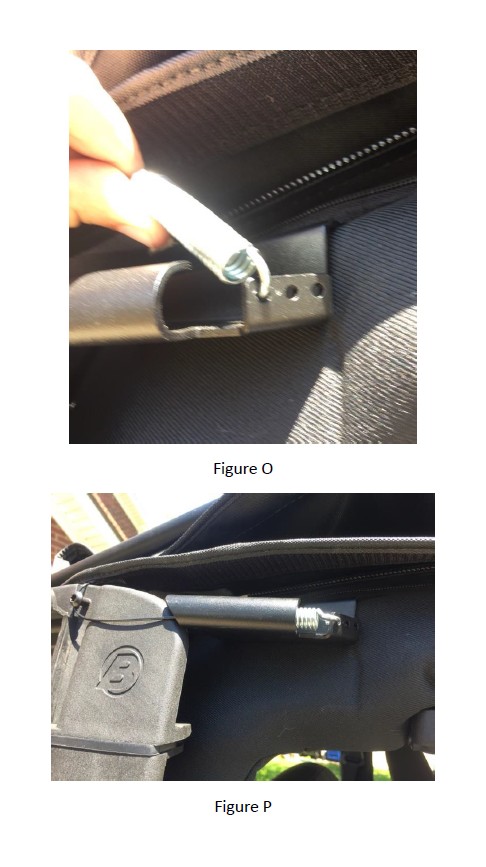
13. Open the sunroof section and run the cable under the door surround screw (Figure N) and through the cable bracket, attaching it to the outer-most hole (Figure O) so the cable runs directly through the bracket (Figure P). Repeat steps on the other side.
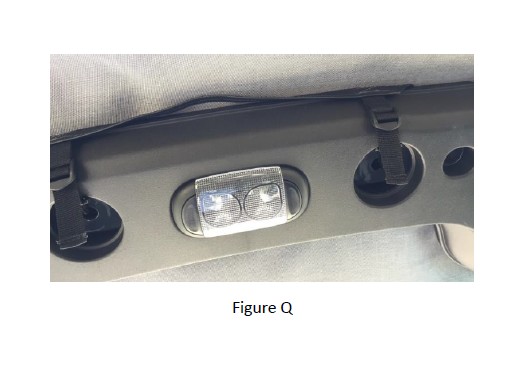
14. Thread web straps through each buckle under the sound bar inside the vehicle and hook the web straps into the openings of the sound bar and tighten the web straps (Figure Q).
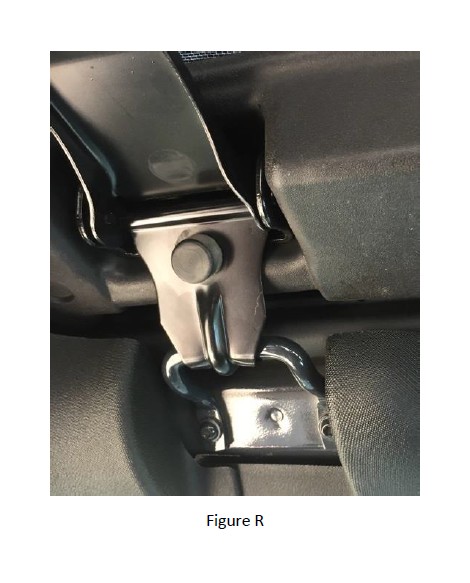
15. Close the sunroof section again, attaching the latches to the loops but not securing them (Figure R).
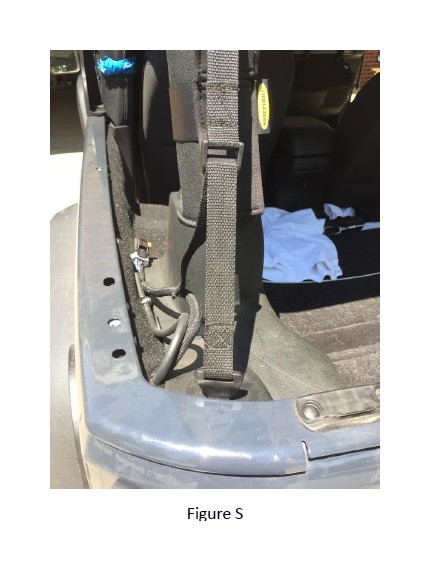
16. Thread a J-hook buckle strap through a buckle on each side of the rear of the vehicle and hook the straps to the ledge of the inside corner on both sides (Figure S).
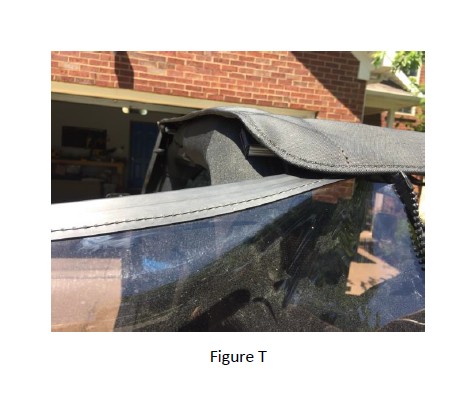
17. Align the J-slide of the rear window with the sewn-in J-slide section of the rear of the top fabric (Figure T) and slide until fully secured.
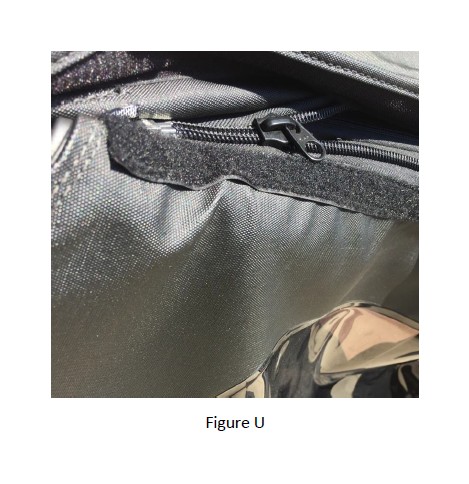
18. Attach the two zip-ends of the left side window and zip only 2" (Figure U). Repeat this with the right side window on the other side.
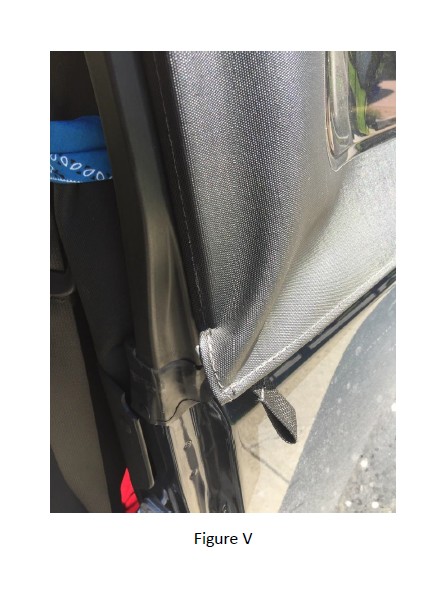
19. Slip the plastic strip on the front of the side window into the channel of the door surround (Figure V). Repeat on the other side. Note: The stitching should face the front of the vehicle if the strip is properly secured into the door surround.
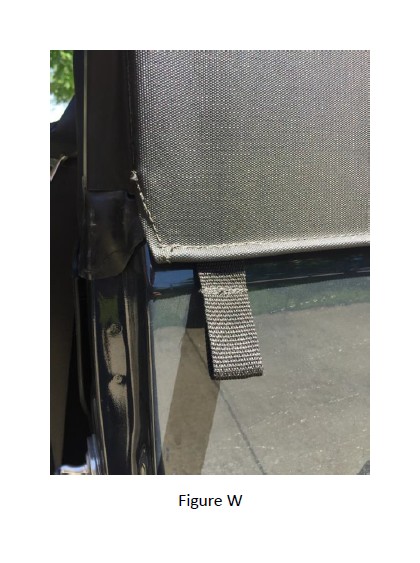
20. Close the remainder of the zippers along the top side of both side windows, slipping the plastic strip along the bottom of each side window into the belt rail (Figure W).
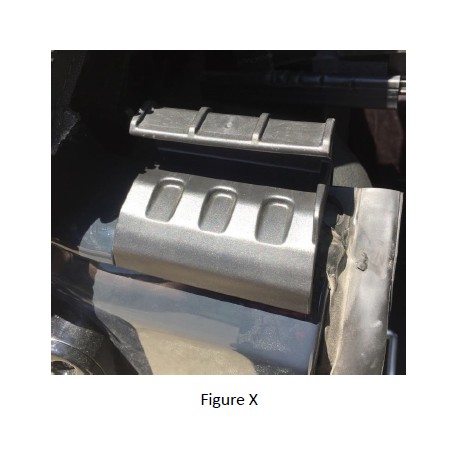
21. Attach tailgate bar mounts onto both sides of the rear belt rail just before the tailgate openings (Figure X).
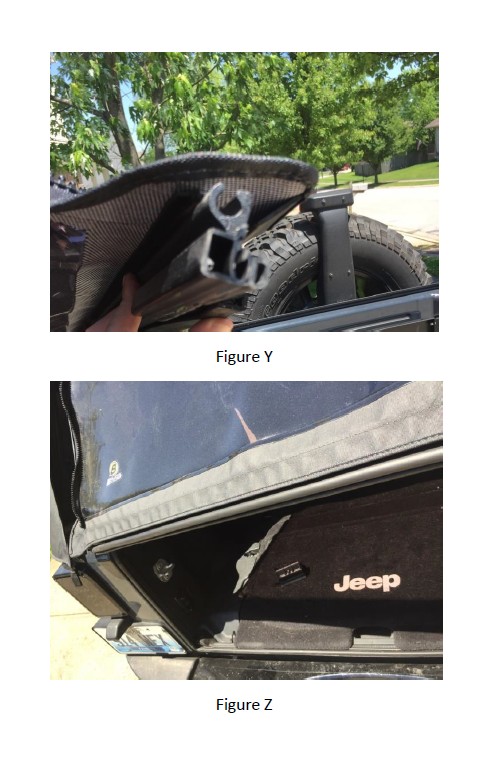
22. Slide the channel in the tailgate bar onto the tubing along the bottom of the rear window (Figure Y) and then secure by aligning the tailgate bar with both tailgate bar mounts (Figure Z) and clicking into place with light pressure.
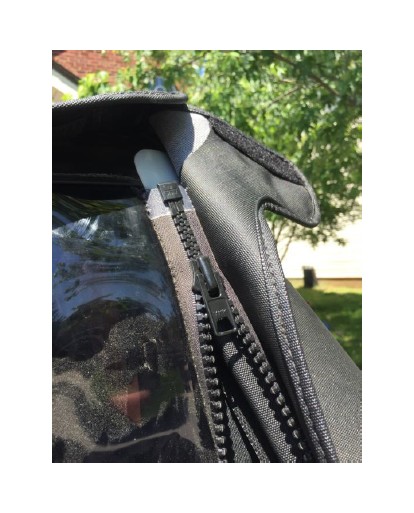
23. Zip the top right corner of the rear window to the top left corner of the right side window and zip only 2" (Figure AA).
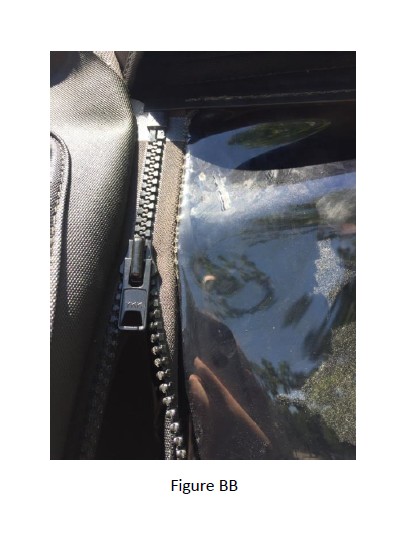
24. Zip the top left corner of the rear window to the top right corner of the left side window and zip only 2" (Figure BB). Note: Make sure the fabric has been sitting in the sun above 72 degrees for some time so the fabric is heated enough to stretch, otherwise you will be unable to secure this section of window. If you notice a drastic shortage (1.5-2.5") between the rear window and the side window zippers, the fabric needs to be warmer so that it can stretch to fit. This does NOT mean the window is too small or was shipped incorrectly.
25. Close the remainder of the zippers along both sides of the rear window.
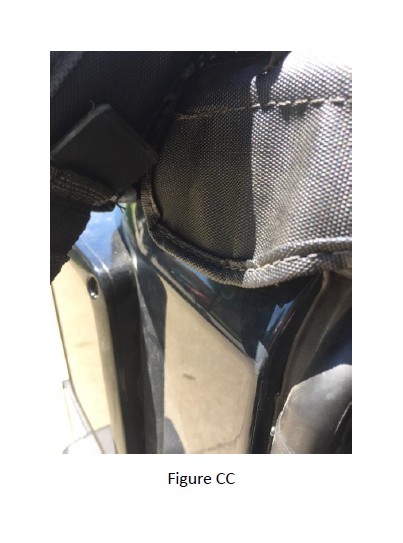
26. Secure the plastic strip on the rear window into the belt rail (Figure CC) on both sides.
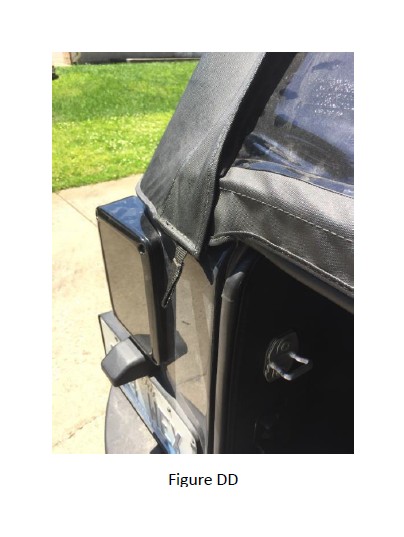
27. Secure the plastic strip of the side window over the plastic strip of the rear window into the belt rail (Figure DD) on both sides.
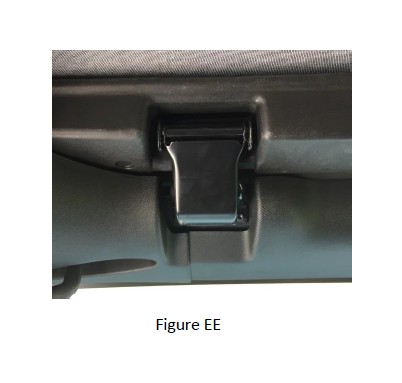
28. Close both latches on the sunroof section of the top fabric inside the vehicle (Figure EE).
29. Ensure all Velcro sections are secured over zipper areas and the top is installed.
Installation Instructions Written by ExtremeTerrain Customer J. Sandlin 05/14/2017
