FREE 1 to 3-Day Delivery on Orders $119+ Details

How to Install Rugged Ridge All Terrain Cargo Liner, Black on your 2007-2013 Wrangler
Shop Parts in this Guide
Contents:
Cargo Liner
Logo (1 per Cargo Liner)
Logo Clips (2 per Cargo Liner)
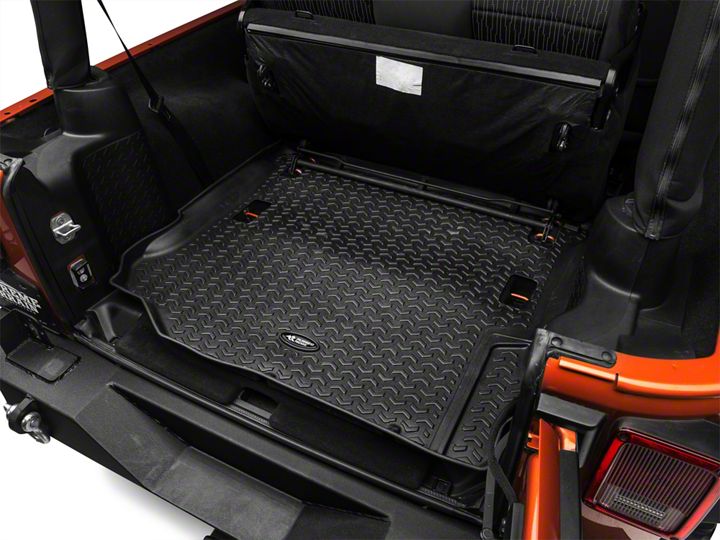
1. Confirm the position and orientation of your Cargo Liner in the cargo area of the vehicle.
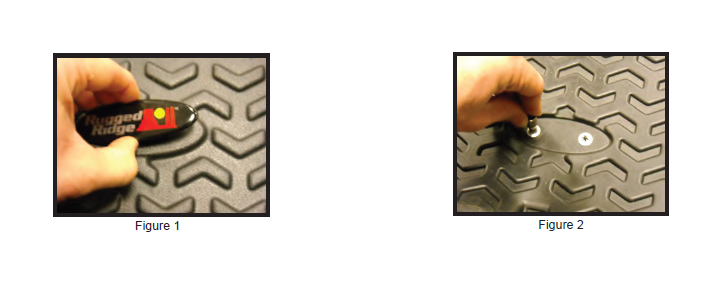
2. Position the Logo over the oval platform on the Cargo Liner and press it into place, ensuring that the two tabs push through the holes in the Cargo Liner (see Figure 1). Flip the Cargo Liner over. Position the Logo Clips over the tabs and push them into place. To ensure that the logo is secure, use a small socket to push the clips on more tightly (see Figure 2).
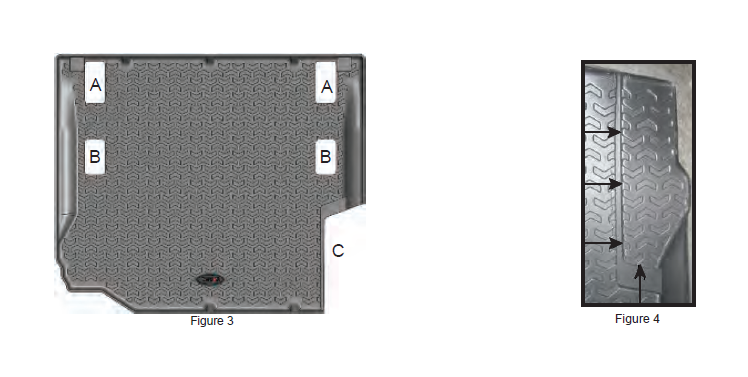
3. Using Figure 3 below, trim the appropriate area for your specific vehicle. For use in a 2 door JK, trimming areas A & B for installing 2nd row seats is optional. Ridges are molded into the bottom of the Cargo Liner to aid in trimming. Very carefully run a utility knife along the inside edge of the molded ridge to trim. Trim area C if your vehicle has a factory sub woofer. From the bottom of the liner, run a utility knife along the inside edge of the channel molded into the liner (See Figure 4). CAUTION: Always be extra careful when using a utility knife.