 FREE 1 to 3-Day Delivery on Orders $119+ Details

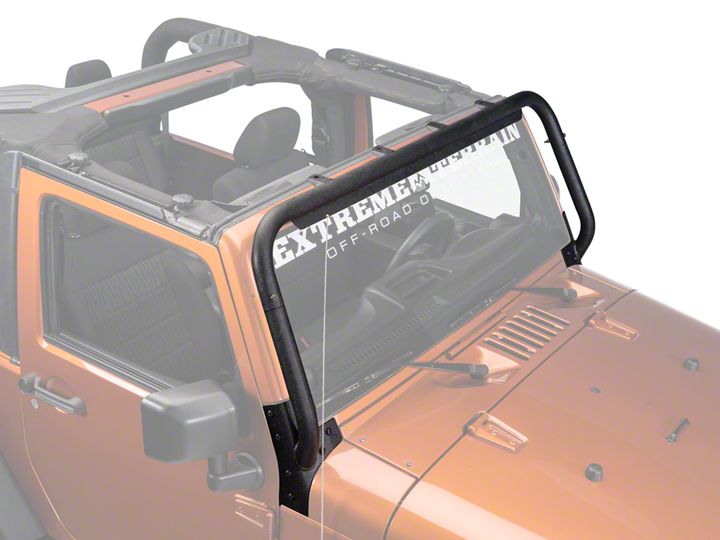
How to Install a Barricade Light Bar on your 2007-2017 Jeep Wrangler JK
Shop Parts in this Guide
Contents:
(1) - Light Bar
(2) - Bolts
(2) - Lock Nuts
(4) - Washers
It is recommended that you have an additional person available to help during this installation, parts can be awkward to hold and support by yourself.
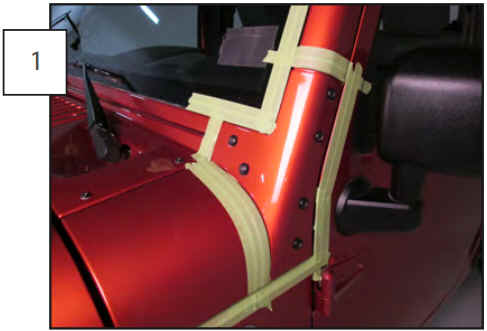
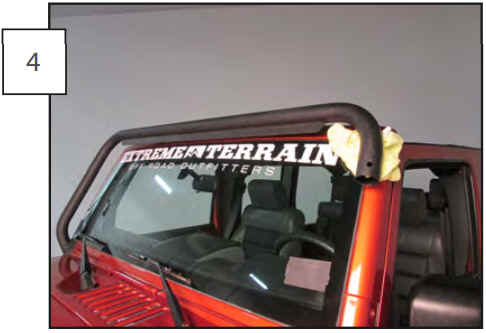
The light bar sections are large and can be awkward to handle. It is recommended that you cover the area surrounding the windshield mount with painters tape to help protect from any scratches during installation.
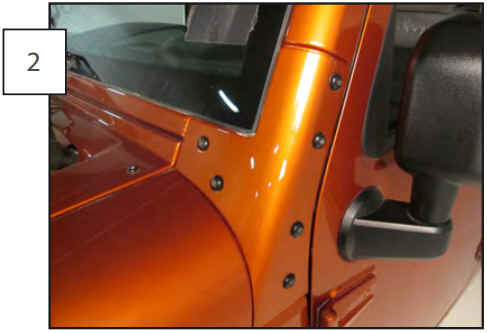
Remove the (6) torx head bolts shown above. Be sure to secure the panel with one hand while removing the last bolt, the panel is heavy and may fall away from the car on its own.
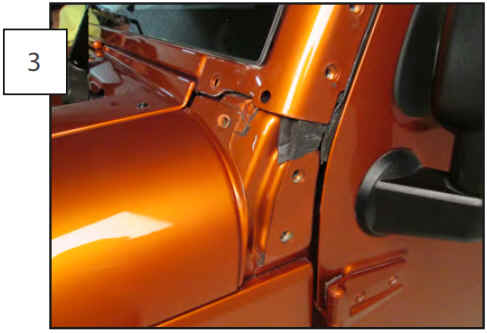
Once the panel is removed, take some time to figure out where you want your wiring to route.
Start by mounting the vertical windshield mount first on the side that will not carry any wiring, followed by the horizontal bar. It’s recommended to install and route the wiring through the open end before installing the horizontal bar. Keep all hardware loose at this point.
Be sure to check the clearance between the mounting stud on the light and the top of the windshield, some lights may require you to trim the bottom of the stud. It may also help to wedge a rag between to windshield and bar to prevent and scratches.
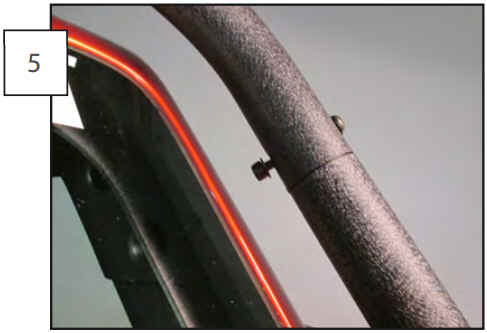
Feed the wiring through the remaining vertical windshield mount into the desired location. Once your wiring is routed properly, first slide the top of the bar into the horizontal section and loosely install the provided nut, bolt, and washers. Next, install the windshield mount. Double check that everything is aligned properly before tightening the rest of the hardware in place.
