 FREE 1 to 3-Day Delivery on Orders $119+ Details

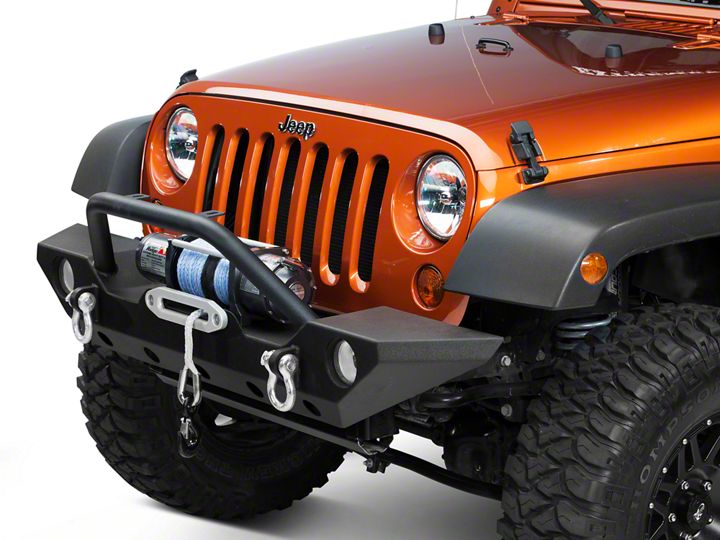
How to Install a Barricade Trail Force HD Front Bumper on your 07-18 Wrangler Jeep JK; 2018 Jeep Wrangler JL
Installation Time
1.5 hours
Tools Required
- Flathead Screwdriver
- Phillips Screwdriver
- 15-19mm Sockets
- 15-19mm Wrenches
- Breaker Bar
Shop Parts in this Guide
Installation Instructions
1. Remove the 6 pins holding the underside splash guard.
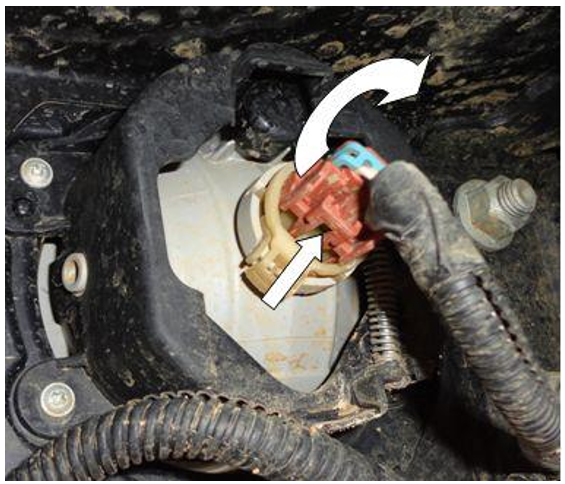
2. Remove the factory fog light connections by pushing the tab in on the brown connector and gently pulling out.
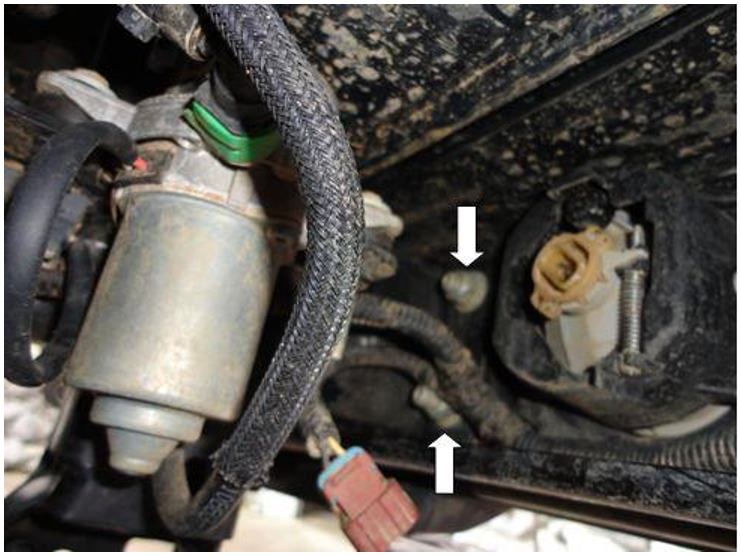
3. Remove the eight bumper attachment nuts using a 19 millimeter socket. Break the bolts loose with a breaker bar and then finish removing with a ratchet.
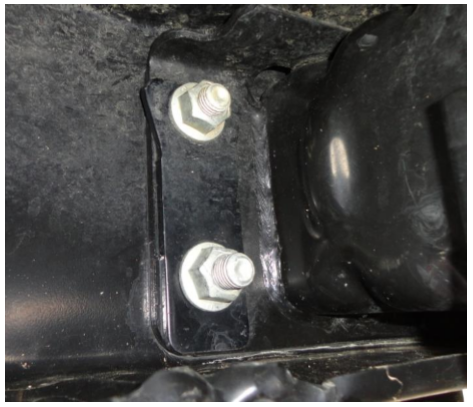
The driver’s side inner bumper bolts may be hard to reach because the fuel pump is mounted nearby. Use a deep-well 19 mm socket, swivel, and ratchet to remove these two bumper bolts.
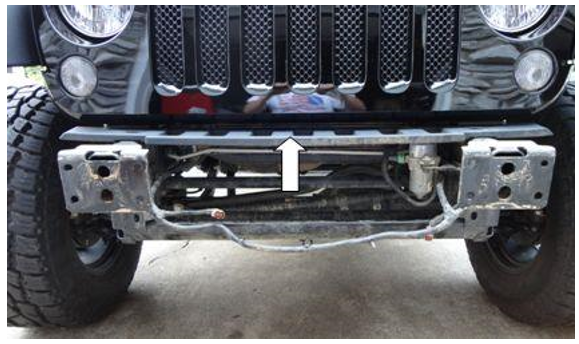
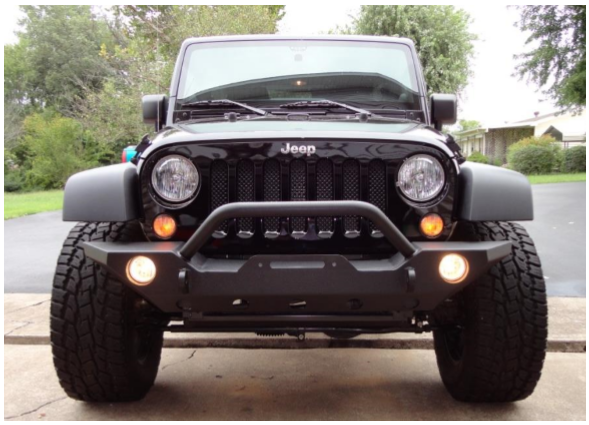
4. Grasping the top tow hooks, pull the factory bumper towards you to remove. Place bumper out of the way.
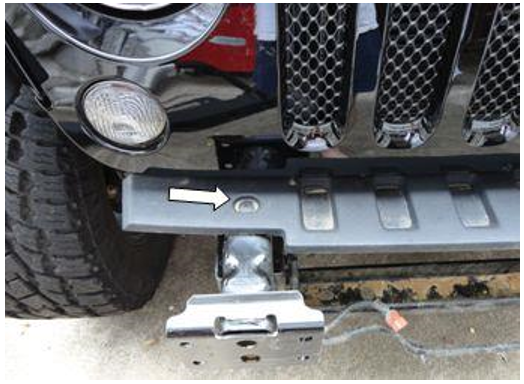
5. Remove the top bumper splash guard: remove the two plastic Phillips head plugs on each side of the splash guard. Turn very gently as these are easy to strip out. If you strip out the Phillips head plugs, you can still remove the splash guard by prying underneath with a flat screwdriver.
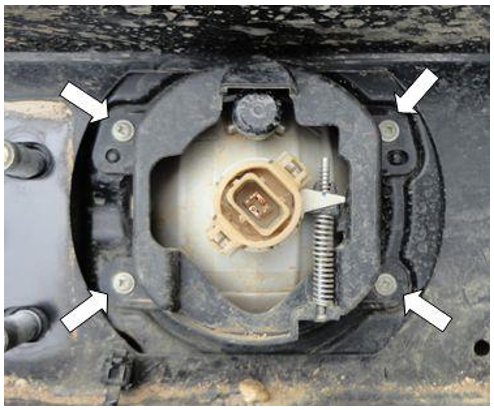
6. From inside the factory bumper, remove the factory fog lights by removing the 4 Phillips head screws. Repeat for the other side.
7. Install the provided brackets to the bumper, and then install the fog lights into the bracket with the supplied hardware. Ensure the lights are centered in the housing before tightening all bolts/nuts. (Warning - do not over-tighten the bolts or you may crack the plastic housing on the factory fog lights).
8. Place the new Barricade bumper on the bumper mounting pads and temporarily fasten with one of the supplied nuts finger-tight on each side of the bumper.
9. Fasten the bumper with the supplied nuts and washers. Torque the bumper mounting nuts/bolts to 75 foot-pounds
10. Run the fog light wiring above the frame rail and plug the connectors back into each light.
11. Test operation of the factory fog lights by turning on the fog light switch located on the light stalk on the steering column.
12. Attach the included D-rings by unscrewing the clevis pin and fastening to the D-Ring mount on each side of the bumper.
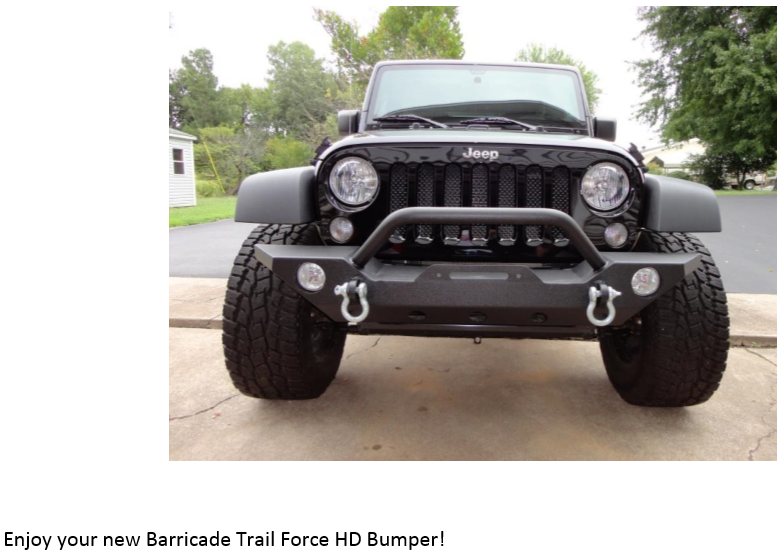
Installation Instructions Written by ExtremeTerrain Customer Michael Stanley 09/07/2014
